Estate Cleanout Planning: Step-by-Step Guide
- Gregory Cunningham
- Apr 20, 2025
- 6 min read
Updated: Sep 1, 2025
Estate cleanouts can feel overwhelming, but breaking the process into clear steps makes it manageable. Whether you're handling a loved one's property, downsizing, or preparing a home for sale, here’s how to get started:
- Set Goals and Deadlines: Decide on your end goal (e.g., selling the property) and create a timeline.
- Organize Items: Sort belongings into five groups: keep, donate, sell, recycle, and trash.
- Hire Professionals: Consider appraisers ($2,000–$6,000), movers ($25–$50/hour), or cleaning services (~$360).
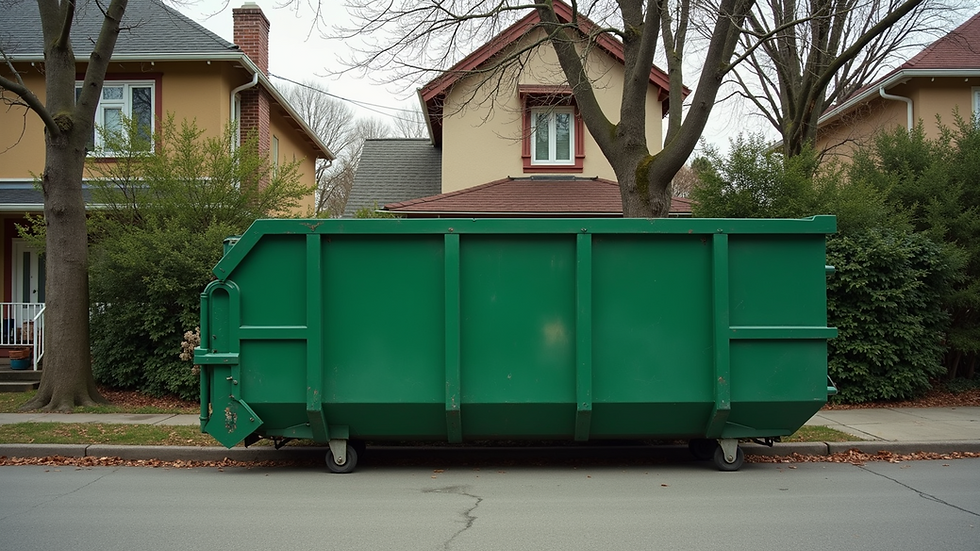
- Rent a Dumpster: For large-scale disposal, a 20-yard dumpster (~$535) is ideal for most homes.
- Work Room by Room: Start with easy areas, take breaks, and involve family in decisions about heirlooms and valuables.
Getting Started: Pre-Cleanout Steps
Setting Goals and Deadlines
First, decide what you're aiming for: preparing the property for sale or simply creating a clean, organized space. Once you've nailed down your goal, set a clear deadline to keep things moving.
Your deadline might depend on:
- The realtor's schedule for listing and showing the property
- Availability of family members for decision-making
- Timing needed for appraisals, estate sales, or auctions
After that, make a list of the services you'll need and estimate their costs.
Hiring Help and Professional Services
You may need to bring in some experts to help with the process. Here's a quick breakdown of common services and their costs:
- Appraisers: $2,000–$6,000 for asset valuation
- Move-out cleaning: Around $360
- Paperwork sorting: $50–$500
- Professional movers: $25–$50 per hour
Estimating Project Size
On average, an estate cleanout costs about $1,250, but it can range anywhere from $275 to $4,000.
Key factors that affect the size and cost of your project include:
- Total square footage or the number of rooms and storage areas
- The volume of items to sort and process
- Any challenges with accessing or removing items
These details will help you choose the right dumpster size and coordinate with services like Dump & Go.
Once you've set your budget and timeline, you're ready to start sorting items and deciding where they’ll go.
Item Organization Guide
5 Main Groups: Keep, Donate, Sell, Recycle, Trash
Start by opening all boxes, emptying pockets, and checking cabinets thoroughly.
- Keep: Items you want to hold on to
- Donate: Items in good condition that others can use
- Sell: Items that have resale value
- Recycle: Items that can be processed for reuse
- Trash: Items to discard
Once sorted, prioritize handling items of higher value.
"Do what is easiest for you first. A list can be very overwhelming for some people, so empower yourself and think 'What is easiest for me to tackle? Or what can I handle first?'" – Maeve Richmond, Founder and Coach, Maeve's Method
Handling Family Heirlooms and Valuables
When it comes to family heirlooms, involve relatives in small group discussions to ensure everyone's voice is heard. For valuable items, consider professional appraisals for:
- Fine art
- Contemporary design pieces
- Antique furniture
- Silver
- Jewelry
- Specialty collections like coins or stamps
"We recommend getting appraisals for larger pieces, such as fine art, contemporary design or antique furniture, silver, jewelry and antiques", – Winston Art Group
"When someone passes and there's a relative who hasn't been involved, they often will want to feel connected. It's important to hear them and say that you will keep an eye out for items that they might like to have. That's always a good place to start." – Maeve Richmond, Founder and Coach, Maeve's Method
Organizing Important Papers
Gather critical documents such as wills, trusts, insurance policies, IDs, and financial records. Store them securely and ensure the will is valid. Identify trustees and review insurance coverage. To stay organized, use color-coded labels for categorizing and maintain an itemized list for easy tracking until the process is complete.
How to Organize an Estate Cleanout, Removing Items from ...
Where Items Should Go
Once you've sorted your items into groups, the next step is deciding whether to donate, recycle, or throw them away.
Choosing Donation Options
Many charities welcome gently used clothes and books, while schools and nonprofits often look for working electronics. For convenience, you can use services like PickUpMyDonation to arrange free pickups. Remember to keep your donation receipts - they can qualify for tax deductions.
Recycling Tips
Recycling correctly means knowing your local rules and available facilities. Here are some common options:
- Electronics: Drop-off or collection events often accept old devices.
- Batteries: Services like Call2Recycle can help.
- Hazardous Materials: Municipal centers usually handle these.
- Clean Packaging: Some shipping stores take materials like styrofoam.
You can also check with manufacturers about take-back programs. Some companies even offer perks or free products in exchange for returning empty containers.
Renting a Dumpster
For items that can't be donated or recycled, renting a dumpster can be a practical solution. Keep these tips in mind:
- The average cost for a week-long 30-yard dumpster is about $535.
- Services like Dump & Go can recommend a 15–20-yard dumpster for smaller needs.
- Make sure the dumpster is placed in an accessible and legal location.
- Provide a list of items to ensure proper disposal.
Dump & Go offers free quotes and 24/7 insured delivery. Just be sure to avoid dumping electronics or appliances in landfills, as this is illegal in many areas.
Working with Dump & Go
Once your items are sorted, the next step is picking the right dumpster to make disposal as easy as possible.
Choosing the Right Dumpster Size
Selecting the proper dumpster size is key to a hassle-free cleanout.
Dump & Go provides three options:
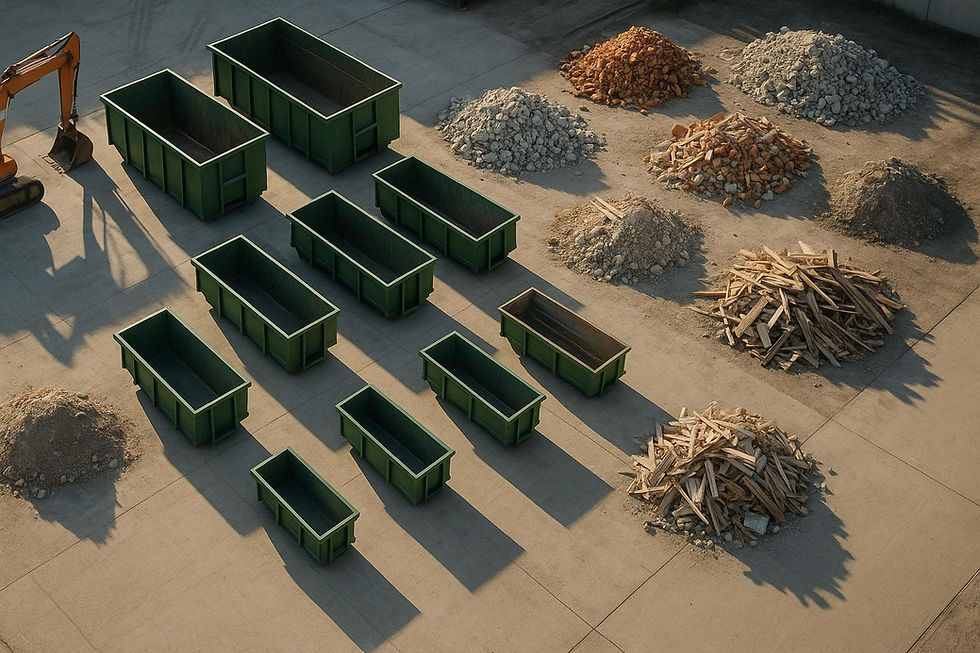
- 15 yd (16'×7.5'×4.5'): Holds 4-5 pickup loads. Ideal for small homes or apartments.
- 20 yd (22'×7.5'×4.5'): Holds about six pickup loads. Works well for average-sized homes.
- 30 yd (22'×7.5'×6'): Fits nine pickup loads. Best for large estates or major projects.
For most whole-house cleanouts, the 20-yard dumpster is a perfect fit.
How the Rental Process Works
- Schedule delivery for the day your cleanout begins.
- Prepare the location by ensuring the spot is level and accessible.
- Load your materials throughout the rental period.
- Arrange pickup when your project wraps up.
Key Features of Dump & Go Services
- Upfront pricing with free quotes.
- 24/7 customer support and fast delivery.
- Fully insured team for peace of mind.
- Expedited service for urgent needs.
Once your dumpster is ready, move on to clearing each room with our step-by-step room checklist.
Completing the Cleanout
Working Through Each Room
With your dumpster ready, focus on one room at a time. This step-by-step approach helps you stay organized and ensures nothing gets missed.
Start with areas that are easier to handle, like the pantry or refrigerator. Toss expired food and set aside any usable items in a cooler. These quick wins can boost your confidence before moving on to more challenging spaces.
Here’s a practical plan for each room:
- Start with simpler areas (like the pantry or laundry room) for an easy start.
- Take photos of items that are valuable or hold sentimental meaning.
- Set up sorting zones: , , , , and .
- Empty all storage spaces completely.
- Load trash and recyclables directly into your Dump & Go dumpster as you sort.
- Work in 2-hour blocks, taking breaks as needed and involving helpers.
This approach ensures you're using your Dump & Go container efficiently right from the start.
Final Check and Clean
After finishing each room, do a final walkthrough. Open every closet and cabinet to make sure nothing has been left behind. Once the room is clear, give it a deep clean - wipe down surfaces, vacuum, or mop floors. This ensures the space is ready for sale or handoff.
- Confirm any showing requirements and marketing deadlines with your real estate agent.
Conclusion: Quick Tips for Success
After completing the final walkthrough and cleaning, keep these key points in mind to finish efficiently:
Set a Realistic Timeline
"There is no firm timeline on this entire process. Grief does not start, does not end at any time. Period. There's no right way to do this." – Matt Paxton
Keep Detailed RecordsTake photos of items with sentimental or monetary value and keep a thorough record of donations for potential tax deductions. Maeve Richmond emphasizes:
"When someone passes and there's a relative who hasn't been involved, they often will want to feel connected. It's important to hear them and say that you will keep an eye out for items that they might like to have."
Simplify DisposalArrange for a Dump & Go dumpster to handle waste removal in one go. This saves time and keeps the process moving smoothly.
Tackle One Room at a TimeWork through each area methodically, finishing with a detailed walkthrough to make sure nothing has been missed.
Maeve Richmond also highlights the value of outside help:
"I think having a neutral party is a great step in the cleaning process… If you are someone whose head keeps spinning with emotions, then have a professional come in and ease the process."


Comments